Welcome to Mount Rainier National Park
Welcome to the Mount Rainier National Park Information Page.
Here you will find all you need to know about the natural history of the park.
Learn about the geology, trees, mammals, birds, or other plants and wildlife of the area.
Mount Rainier National Park is located in west central Washington about 48 miles southeast of Tacoma, WA. The park is approximately a one to two hour drive from Seattle, Tacoma and Yakima, Washington and Portland, Oregon. The Nisqually Entrance, located on the southwest side of the park on Stateroad 706, is open year round. Other park roads are open only during the summer months.
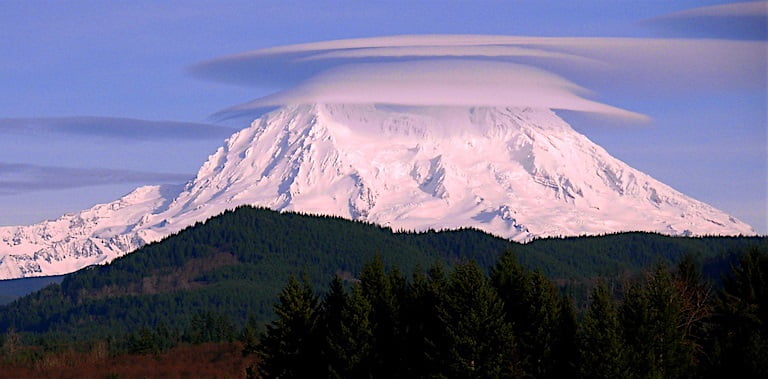
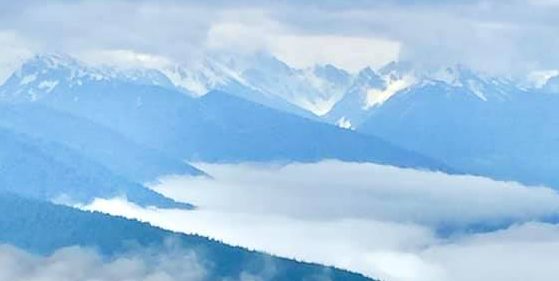
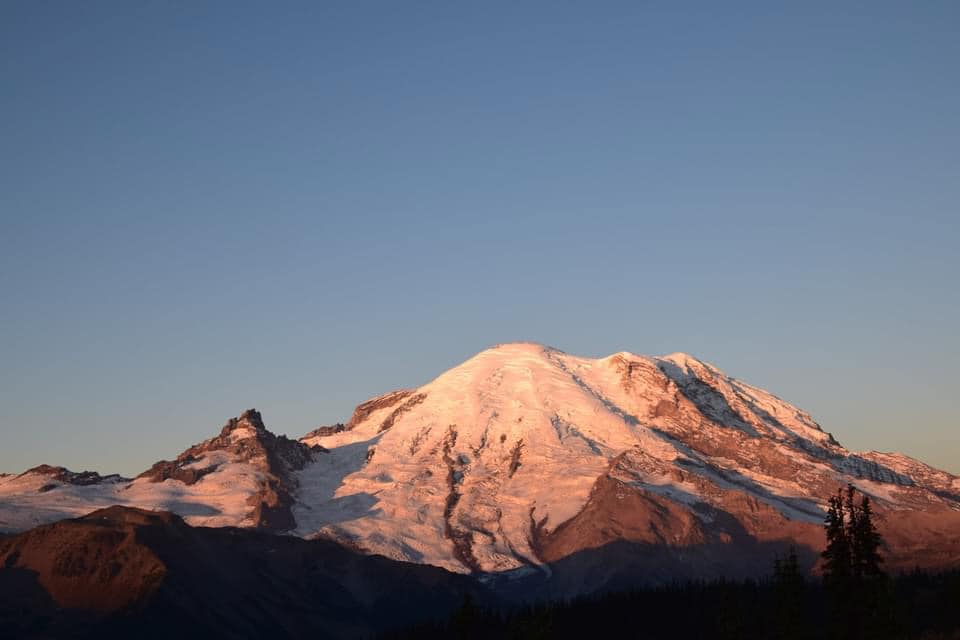
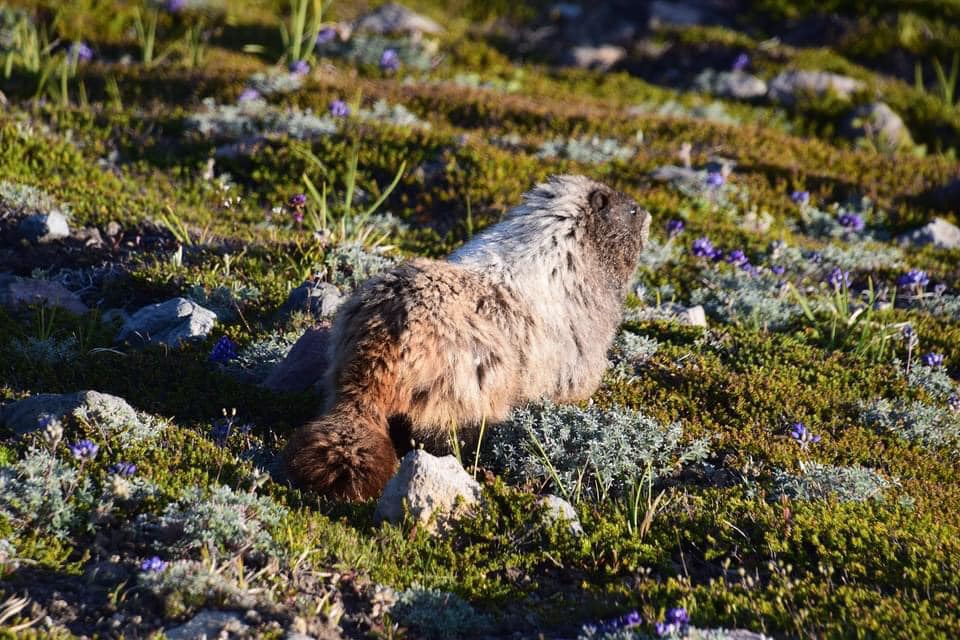
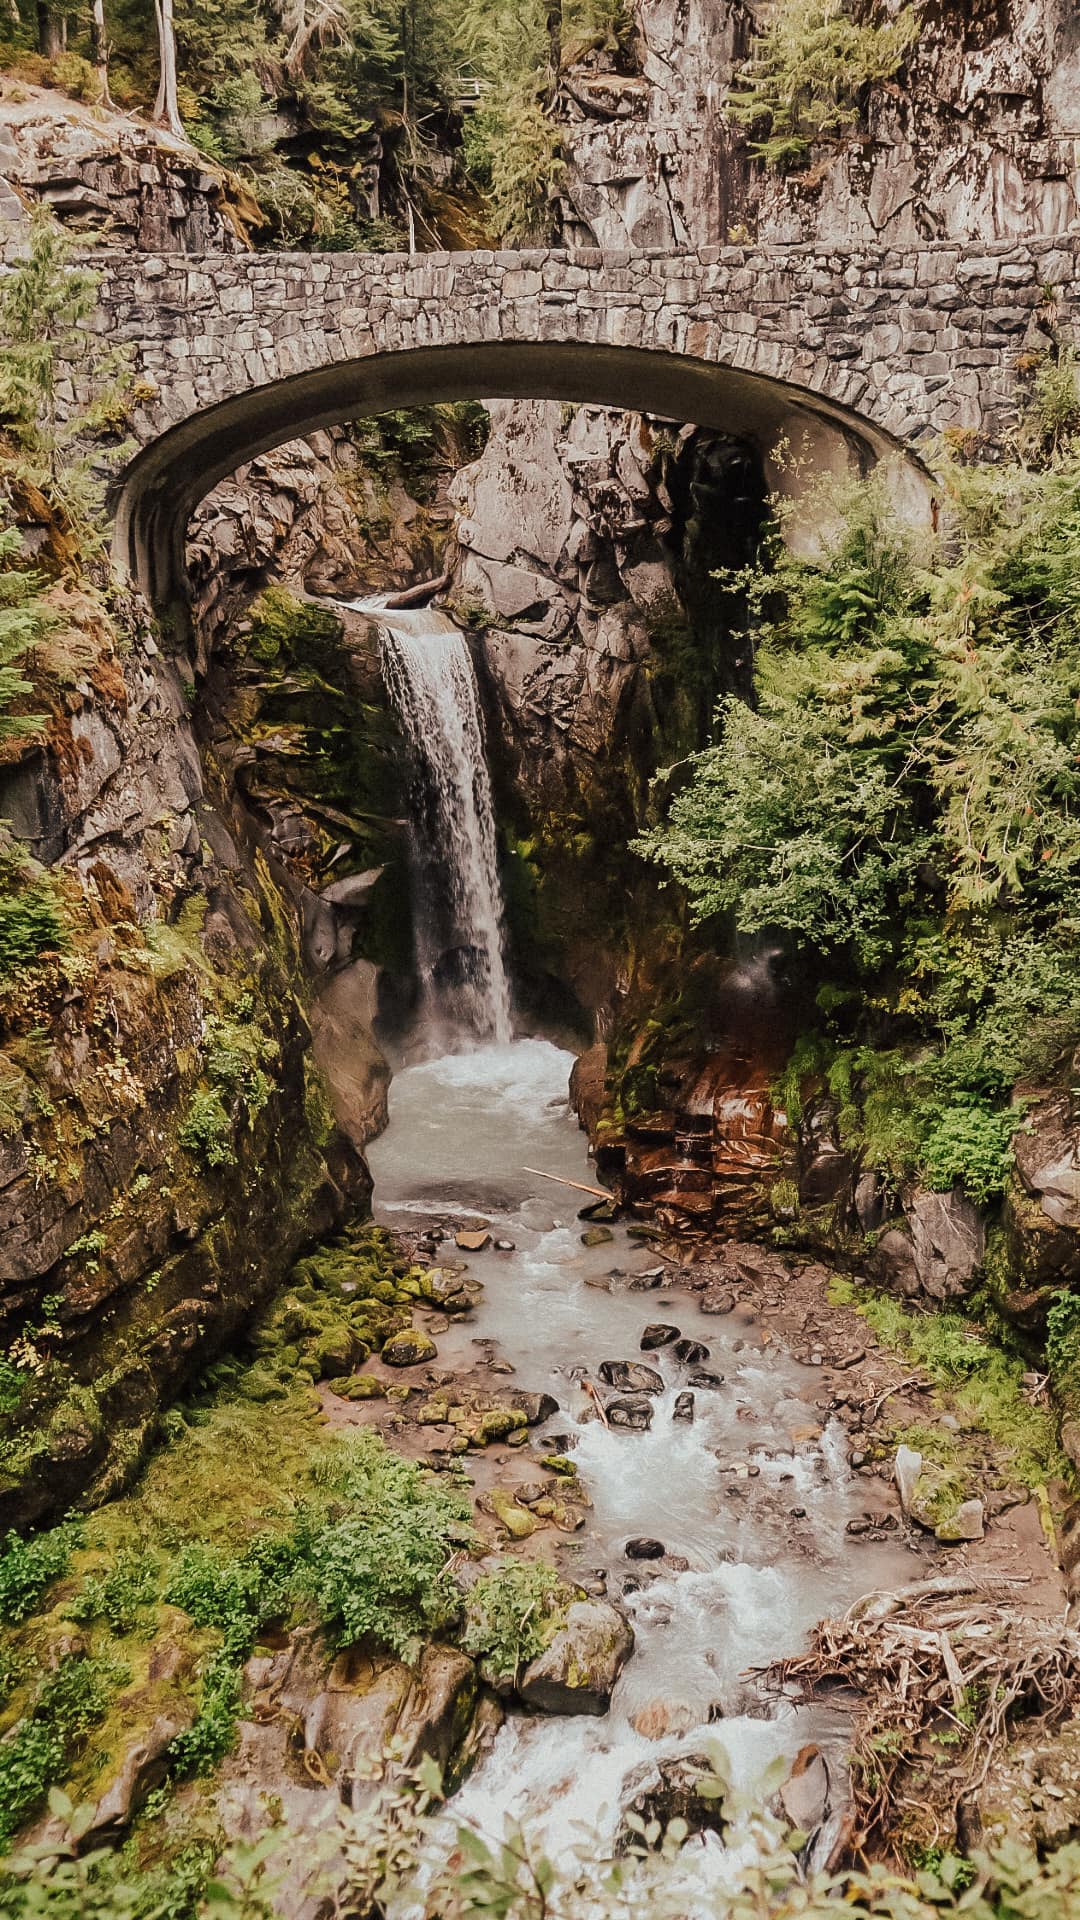
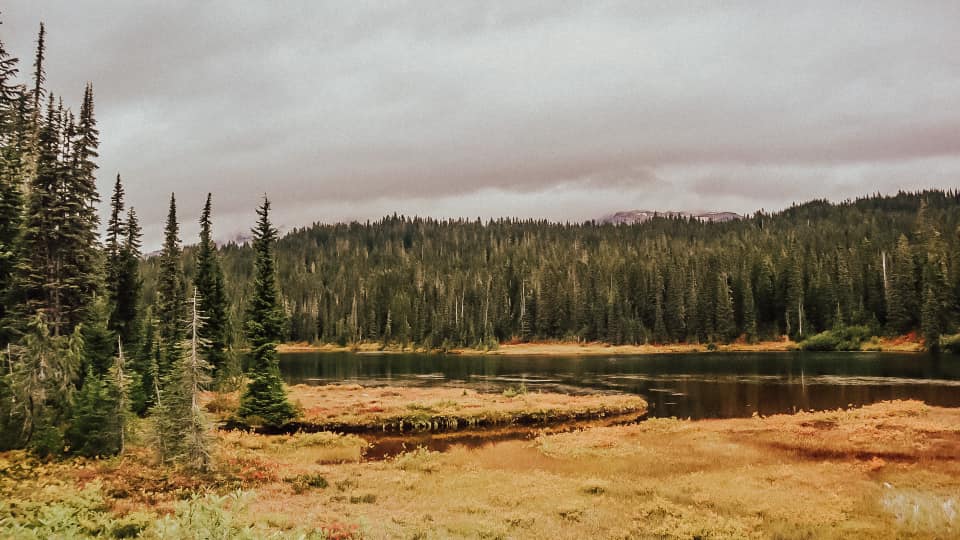
You can see images of Mount Rainier National Park here:

Getting Here
The closest major airports are Seattle / Tacoma, Washington and Portland, Oregon.
From the North
1. Take I-5 South to Stateroad 167 or 169 South to Stateroad 410 East to the parks east road and entrance.
2. Take I-5 South to Stateroad 167 or 169 South to Stateroad 410 east to Stateroad 165 South to the park (Closed in Winter).
3. Take I-5 South to Stateroad 7 South to Stateroad 706 East to the parks southwest area and entrance.
From the East
1. Take I-90 West to I-82 South to Highway 12 West to Stateroad 410 North to the park.
2. Take I-90 West to I-82 South to Highway 12 West to Stateroad 123 North to the east side of the park or take Stateroad 7 North to Stateroad 706 East to the southwest area and entrance to the park.
From the South
1. Take I-5 North to Highway 12 East to Stateroad 7 North to Stateroad 706 East to the southwest area and entrance to the park.
2. Take I-82 North to Highway 12 West to Stateroad 410 North to the park or take Highway 12 West to Stateroad 123 North to the east side of the park or take Highway 12 West to Stateroad 7 North to Stateroad 706 to the southwest area and entrance to the park.
From the West
1. Head to I-5 and follow the directions above for the North or South routes to the park.
Establishment the Mount Rainier National Park
Mount Rainier established on 02 March 1899, contains vast expanses of pristine old-growth forests, subalpine flower meadows, spectacular alpine scenery, and great opportunity for stimulating outdoor activities. Mount Rainier National Park is the fifth oldest national park in the United States. The park has the greatest single-peak glacial system in the United States. Glaciers radiate from the summit and slopes of the 14,411 foot volcano.
Size and Visitation of Mount Rainier National Park
The park encompasses 378 square miles (980 square kilometers, 235,612.5 acres). Elevation ranges from 1,880 at the Carbon River rain forest (NW corner of park) to 14,411 feet at the summit. Annual visitation exceeds 2 million visitors, with the majority of visitors coming to the park during the months of May through October.
Wildlife of Mount Rainier National Park
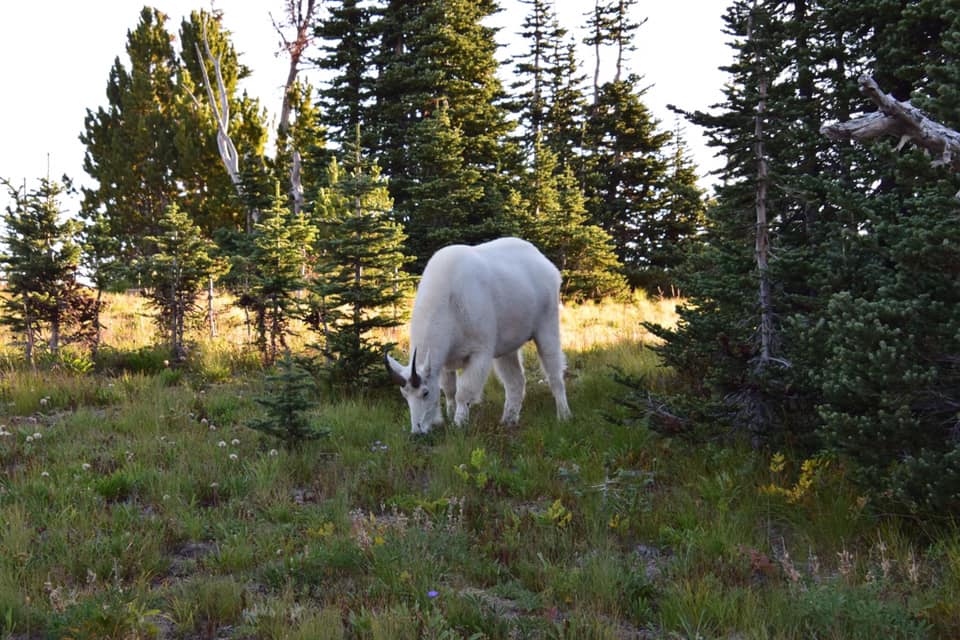
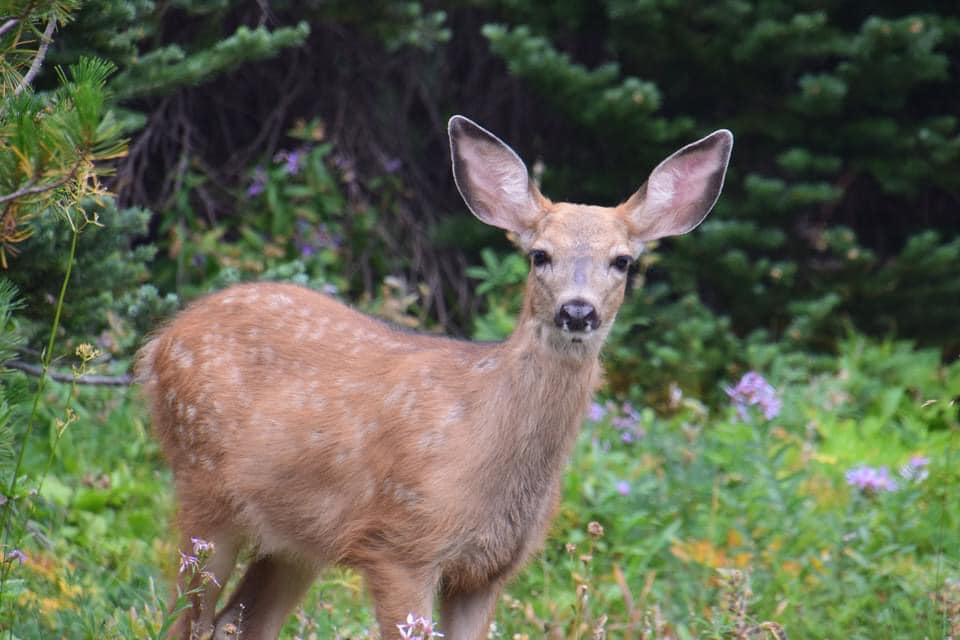
The seasons and elevation play a big role in determining where you may best find wildlife. In summer, chipmunks, chickarees, ground squirrels, marmots, and pika are commonly seen mammals. Clark’s nutcrackers, gray jays, Steller’s jays, and ravens are commonly seen birds. Deer are frequently seen, but black bear, elk, and mountain goats are more elusive. Look for elk on the east side of the park in September. The color of black bear may be brown, tan or blond, and to see one is a rare treat. Mountain goats stay close to the high country cliffs.
Visitors Guide
Basic Recommendations
I recommend that you plan your trip and the areas you would like to see and then go and relax and make a day of it. Go and see all that is in the area and enjoy it. You spend more quality time and learn and see more than you could ever imagine.
Mount Rainier National Park contains vast expanses of pristine old-growth forests, subalpine flower meadows, spectacular alpine scenery, and great opportunity for stimulating outdoor activities. Mount Rainier National Park is the fifth oldest national park in the United States. Mount Rainier has the greatest single-peak glacial system in the United States. Glaciers radiate from the summit and slopes of the 14,411 foot volcano.
Biking
Bicycles, Motorbikes, Roller skates, Skateboards Bicycles and Motorbikes may be operated in the campground on roadways only, in the same direction of travel as other vehicles. Motorcycles must be licensed for street use and drivers must have an operators license. Travel on trails with bicycles or motorbikes is not permitted. The use of skateboards and roller skates is not permitted in the park Bicyclists will find that there is little room to maneuver on park roads, which are narrow and winding. Gains in elevation range from 1,700 ft to 6,400 ft.
Camping
Mount Rainier National Park has six auto campgrounds providing almost 600 sites. Cougar Rock, Ipsut Creek, Mowich Lake, Ohanapecosh , Sunshine Point, and White River. These campgrounds are all open for your stay by the end of June through mid-September. Only one campground, Sunshine Point, is open for auto camping all year round. The other five campgrounds close in September and October, depending upon location and weather.
Backcountry camping is permitted through the park all year round by permit only. Sites at two of the six campgrounds are issued by reservation only from 01 July through Labor Day.
Climbing Mount Rainier
Each year more than 4,500 people successfully climb to the 14,411 foot summit of Mount Rainier. Climbers need to be in top physical condition, since climbing to the summit is very strenuous, requiring a vertical elevation gain of more than 9,000 feet over a distance of 8 or more miles. Climbers should also be experienced in glacier travel and mountaineering skills. Mount Rainier, the most heavily glaciated peak in the contiguous United States, offers an exciting challenge to the mountaineer who is totally prepared, but can be extremely dangerous for those who are inexperienced or unprepared.
Golden Access Passport
The Golden Access Passport is a free pass available to all permanent U.S. residents who are eligible to receive federal benefits based on disability, whether or not you are actually receiving them or not. This pass entitles the bearer, and immediate family or accompanying passengers in a private vehicle, to free admission to all U.S. National Parks, Monuments, Forests, and Historic Sites, as well as half price camping. Apply in person at any National Park Service or U.S. Forest Service area.
Food and Supplies
Limited camper supplies are available at the National Park Inn at Longmire, Sunrise Lodge, and in the communities surrounding the park.
Lodging
Two hotels are located within the park, managed by Mount Rainier Guest Services, The National Park Inn at Longmire, The Paradise Inn at Paradise.
Pet Information
Dogs, cats and other pets must be caged, on a leash or otherwise under physical restraint at all times. Pets may not be left unattended. Pets are not permitted in amphitheaters, buildings, on trails or in vegetated areas. They are permitted only in parking lots and roads open to vehicles.
Weather of Mount Rainier National Park
Mount Rainier, 14,411 feet high, is often said to create its own weather. It reaches into the atmosphere and interrupts the flow of moist maritime air masses from the Pacific Ocean. This results in great amounts of rain and snowfall. The heaviest precipitation occurs between October and early May. During the winter of 1971-1972, 1,122 inches of snow fell at the Paradise weather station on Mount Rainier (5,400 foot elevation), which was a world record. Average summer temperatures can range from the upper 30’s to mid-70’s. Warm clothing, rain gear, and sturdy footwear are recommended.
Tag : mount rainier national park , mount rainier national park washington , mount rainier national park visitor center , mount rainier national park weather , mount rainier national park map